HTML - Use Tags with Shortcodes
With this plugin, you can seamlessly integrate HTML tags into your Markdown content using simple shortcodes. The plugin supports various HTML tags, including div, span, address, mark, sub, sup, and kbd. Additionally, you have the flexibility to add classes and IDs to each tag. To utilize this plugin, ensure you have a MAKER-license.
Traditionally, HTML tags are permitted in Markdown per its specification. However, for security reasons, they are disabled in Typemill. Responding to user feedback, this plugin offers a secure way to incorporate HTML tags into Typemill without relying on complex libraries for HTML sanitization.
General Usage
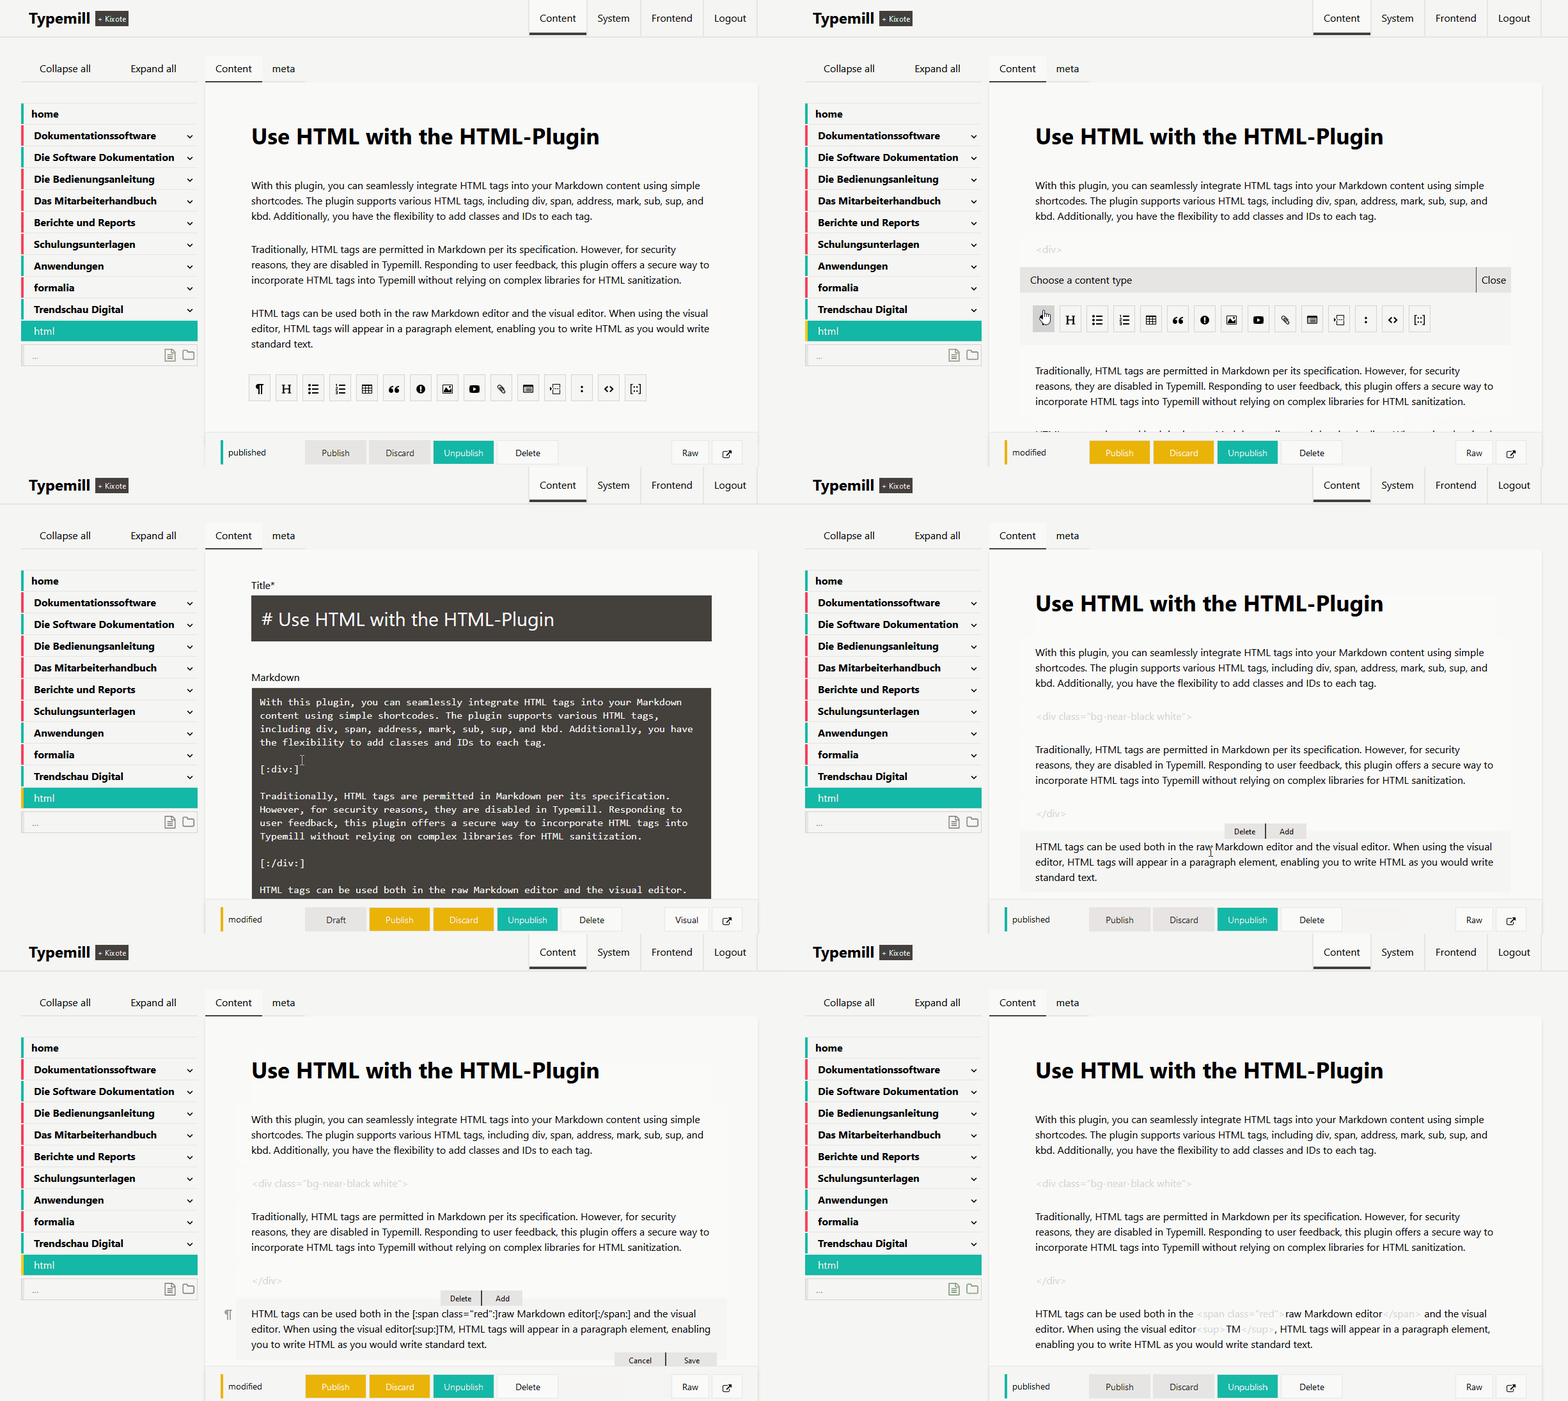
HTML tags can be used both in the raw Markdown editor and the visual editor. When using the visual editor, HTML tags will appear in a paragraph element, enabling you to write HTML as you would write standard text.

In the visual editor, HTML tags are displayed in light gray, allowing you to distinguish your HTML code easily. You can even reposition HTML elements using drag-and-drop.
Div and Span
The div and span elements are probably the most useful tags. It's recommended to use div tags as block elements on separate lines:
[:div class="myclass test" id="myid":]

This is text inside the div with an [:span class="myclass":]inline span element[:/span:] inside the div.

[:/div:]
You can also nest div and span tags within the same line:
[:div class="myclass":][:span:]This is a span nested in a div in one line.[:/span:][:/div:]It is also possible to use inline span-elements at the beginning and at the end of a line. In this case they will be treated as block-elements.
[:span class="myclass":]one line starting and ending with a span element.[:/span:]Address
The address tag should be used as block element.
[:address:]

Typemill Inc.
Millerstreet 12
11223 Bread-City

[:/address:]
Mark, kbd, sub, sup
Inline usage is suitable for mark, kbd, sub, and sup tags:
A [:mark:]mark-tag[:/mark:] for marks, and the [:kbd:]kbd[:/kbd:] tag for keyboard buttons. The tag [:sup:]sup[:/sup:] and [:sub:]sub[:/sub:] are very useful either!Working with IDs and Classes
All HTML tags accept the attributes id and class. You have two options to style your elements with classes:
- Many themes such as the cyanine-theme utilize the css-library tachyons. Tachyons is a utility css library just like the popular Tailwind css library. You can simply add the tachyons-classes to style your HTML-elements. For example, to add a dark background with white text, you can use the class
bg-dark-gray white. - You can also use your own classes, and then write the css-rules into the themes configuration. Just open the theme configuration and scroll to the bottom of the configuration section. All themes have a dark textarea that accepts css-rules.